Loading...

MLA formatting can be the difference between a paper that looks amateur and one that stands out to any instructor. Most students believe just double spacing is enough, but they often miss small details that cost them points. Consistent document setup, right down to 1-inch margins and proper headers, can affect your credibility more than you might think. There is a surprisingly simple way to make your work look polished and truly professional.
| Key Point | Explanation |
|---|---|
| 1. Set Margins and Font Correctly | Use 1-inch margins and Times New Roman font at 12-point size for proper MLA formatting. |
| 2. Double-Spacing is Mandatory | Ensure the entire document is double-spaced to enhance readability and allow room for annotations. |
| 3. Implement Header with Name and Page Number | Include your last name and page number in the upper right corner to maintain identification and organization. |
| 4. Start Page Numbering on Content Page | Begin sequence on the first page of your actual content, avoiding title page numbering per MLA guidelines. |
| 5. Consistently Verify Formatting | Thoroughly check for uniformity in header, font, spacing, and margins to present a polished document. |
Creating a professional MLA document starts with establishing the correct formatting foundation. This crucial first step sets the stage for a polished academic paper that meets Modern Language Association standards. Proper document setup ensures your work looks clean, consistent, and academically credible.
Start by selecting the right document template or creating a new file with precise specifications. You will need standard white 8.5 x 11-inch paper with 1-inch margins on all sides. Microsoft Word, Google Docs, and other word processing software make this easy to configure through page layout or document settings. Select a professional, readable font like Times New Roman in 12-point size, which provides excellent clarity and meets MLA guidelines.
Double-spacing is non-negotiable in MLA format. This requirement creates breathing room between lines, making your document more readable and leaving space for potential instructor annotations. Configure your line spacing by highlighting the entire document and selecting double-spacing in your word processor's paragraph settings. Consistency is key - ensure the entire document maintains this uniform spacing.
For your running header, you will need to insert your last name and page number in the upper right corner. Position this header half an inch from the top edge, aligned with the right margin. Most word processors allow you to insert page numbers automatically, which simplifies this process. Pro tip: Use the header function rather than manually typing your name and page number on each page to maintain precision.
Before proceeding, review our comprehensive MLA formatting guide to confirm you have not missed any subtle formatting requirements. Double-check that your document matches these specifications:
By meticulously setting up your document format, you establish a professional foundation that will support the academic content to follow.
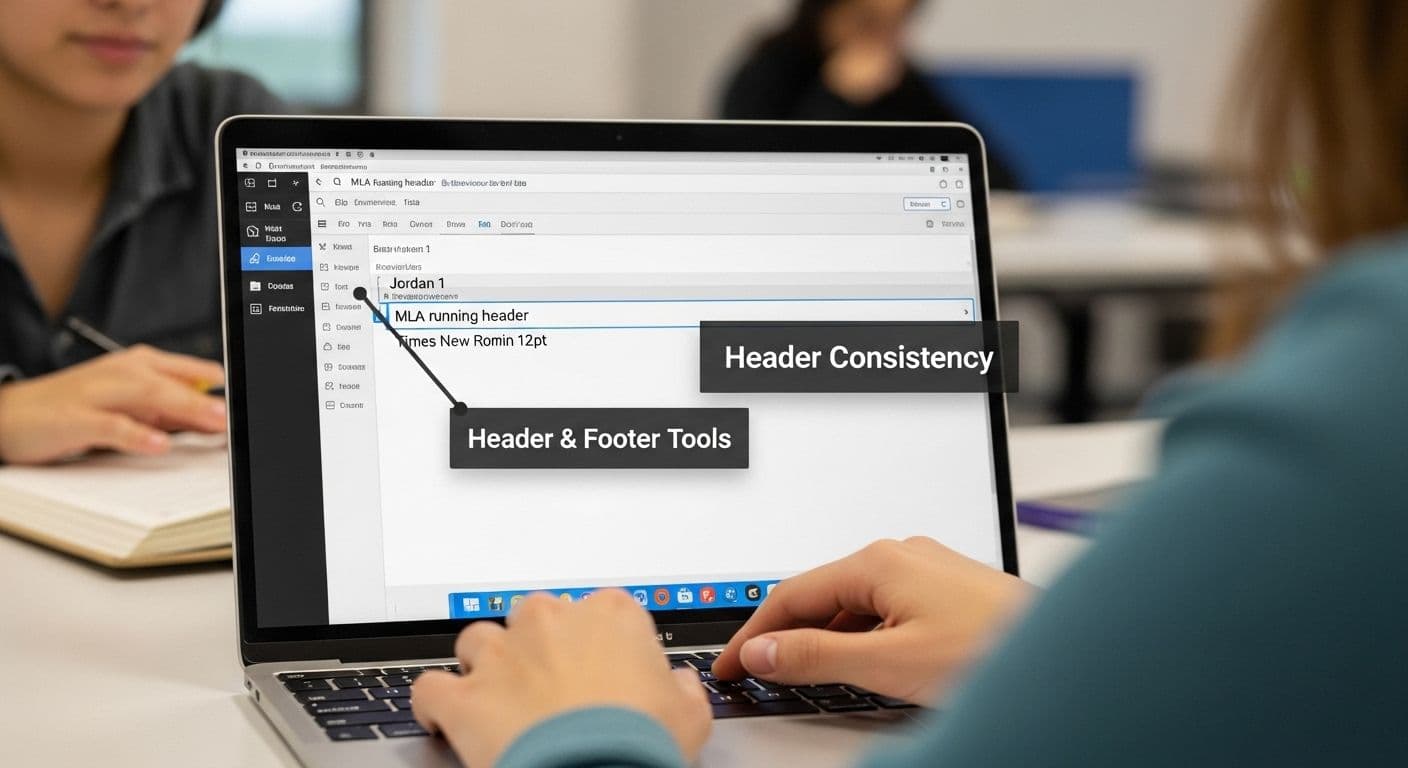
With your document format established, the next critical step is creating the MLA running header. This header serves as a professional identifier, displaying your last name and sequential page numbers throughout your academic paper. Precision is paramount when implementing this formatting requirement.
Navigate to the header section in your word processing software by double-clicking the top margin or selecting the "Header" option in the page layout menu. Most programs like Microsoft Word and Google Docs offer built-in tools that simplify this process. Begin by clicking "Page Number" and selecting the option to insert page numbers in the upper right corner. Ensure the numbering starts on the first page of your actual content, not the title page.
Next, add your last name before the page number. This requires manually typing your surname, which should appear immediately left of the page number.
Align this text flush right, approximately half an inch from the top edge of the page. Pro tip: Use the header and footer tools to maintain consistent formatting across all pages. Some writers mistakenly type their name and page number manually on each page, which can lead to inconsistencies and potential formatting errors.
Technology can sometimes create challenges, so be prepared to troubleshoot. If your page numbers are not appearing correctly or your header looks misaligned, check your word processor's page layout settings. Most issues stem from incorrect margin configurations or accidental formatting overrides. Explore our comprehensive guide on academic document formatting for additional troubleshooting tips.
Verify your header meets these critical requirements:
A perfectly executed MLA running header demonstrates your attention to detail and commitment to academic writing standards.
Adding your last name to the MLA running header is a critical step that ensures proper academic attribution and helps instructors easily identify your work. This seemingly simple task requires precision and attention to detail. Your surname serves as a personal identifier that follows your document through every page, creating a professional and consistent presentation.
Position your last name in the upper right corner of the document, precisely half an inch from the top margin and aligned with the right edge. Use the same font and size as your primary document text - typically Times New Roman, 12-point. Avoid using your full name or first name; MLA guidelines specifically require only your last name. If you have a hyphenated surname, include the entire hyphenated name without spaces.
Word processing software offers multiple methods for inserting your last name. In Microsoft Word, you can use the "Header & Footer" tools to create a consistent header across all pages. Select the "Page Number" option, then choose "Top of Page" and pick a right-aligned format. Once the page number is inserted, manually type your last name immediately before the page number, ensuring there is a single space between your surname and the page number.
Some students encounter challenges when their last name is unusually long or contains special characters. In such cases, maintain the same formatting principles. If your surname includes accented letters or non-English characters, use the exact spelling to preserve your personal and cultural identity. Authenticity in academic writing means representing yourself accurately.
Learn more about creating professional academic documents to refine your formatting skills and understand nuanced citation requirements.
Verify your last name header meets these essential criteria:
A correctly implemented last name header demonstrates your commitment to academic writing standards and attention to professional details.
Page numbering represents the final crucial element in creating a professional MLA running header. This step transforms your document from a draft into a structured, academically compliant manuscript. Proper page numbering provides clear navigation for readers and demonstrates your commitment to precise formatting standards.
Modern word processing software makes page numbering straightforward. In Microsoft Word, navigate to the "Insert" tab and select "Page Number" in the header section. Choose the "Top of Page" option, then select a right-aligned format that matches your document's professional aesthetic. Most academic writers prefer a simple, clean numbering style that integrates seamlessly with the header design.
Pay special attention to where your page numbering begins. MLA guidelines specify that page numbers should start on the first page of your actual content, not the title page. This means if you have a separate title page, numbering will commence on the page immediately following. Some students mistakenly number their title page, which can result in formatting errors and potential point deductions in academic submissions.
Technology can occasionally present challenges with page numbering. If you encounter issues like incorrect starting page, inconsistent formatting, or numbers not appearing, carefully review your document's section breaks and header settings. Most problems stem from inadvertent formatting conflicts or incorrect page layout configurations. Explore our comprehensive guide on academic document formatting for advanced troubleshooting techniques.
Verify your page numbering meets these critical requirements:
A meticulously numbered document communicates professionalism and attention to academic writing standards.

Verifying header consistency is the final critical step in creating a professional MLA running header. This comprehensive review ensures your document meets every precise formatting requirement. Think of this stage as a quality control process that separates amateur drafts from polished academic submissions.
Begin your verification by scrolling through every page of your document, carefully examining the running header. Check that your last name appears exactly the same on each page, maintaining identical font, size, and positioning. Even minor variations can compromise the professional appearance of your academic work. Pay special attention to the spacing between your last name and page number - it should be a single, consistent space across all pages.
Utilize your word processor's preview and print layout views to conduct a thorough examination. These tools allow you to see your entire document as it would appear when printed, helping you spot any inconsistencies that might be less obvious during regular editing. Look for subtle formatting issues like slight shifts in margin alignment or unexpected font weight changes. Some word processors can inadvertently introduce formatting variations, especially when copying and pasting content between sections.
Technology offers multiple verification methods. Most modern word processing software include built-in formatting consistency checks. Take advantage of these tools by using the "Compare Documents" or "Check Formatting" features. Some writers find it helpful to print a draft or use PDF conversion to get a final visual confirmation of their header's uniformity.
Explore our comprehensive guide on academic document formatting for additional insights into maintaining professional document standards.
Verify your header meets these critical consistency requirements:
A meticulously consistent header demonstrates your commitment to academic excellence and professional presentation.
Finalizing your MLA document represents the culmination of your formatting journey, transforming a draft into a professionally polished academic submission. This critical step ensures your document meets every precise MLA formatting requirement. Think of this stage as your final quality control checkpoint before presenting your work to instructors or academic reviewers.
Begin by performing a comprehensive digital review of your entire document. Use your word processor's proofing tools to check for any lingering formatting inconsistencies, paying special attention to the running header. Zoom in and out of your document to verify that margins, page numbers, and header placement remain uniform across all pages. Some writers find it helpful to use the "Print Preview" function, which provides a complete view of how the document will appear when printed.
Convert your document to a PDF format for an additional layer of formatting preservation. PDFs lock in your careful formatting, preventing accidental modifications and ensuring that the document appears exactly as you intended across different devices and platforms. This step is particularly crucial when submitting documents electronically, as it guarantees that your precise MLA formatting remains intact regardless of the receiving computer's settings.
Consider creating a backup of your document in multiple locations. Save copies on your computer, an external hard drive, and a cloud storage service. This precautionary measure protects your work from potential technical failures and provides peace of mind during the submission process. Explore our comprehensive guide on academic document management for advanced file protection strategies.
Verify your document meets these final submission criteria:
A meticulously finalized document reflects your commitment to academic excellence and professional presentation.
Below is a checklist table to help you verify your MLA running header and document formatting before final submission.
| Requirement | Description | How to Check |
|---|---|---|
| Running header consistent on all pages | Header with last name and page number on every page | Scroll through each page |
| Page numbers sequential and correct | Page numbers increase by one, starting on the content page | Use Print Preview |
| Margins uniform at 1 inch | All sides of every page have exact 1-inch margins | Check Margins in Layout Menu |
| Font consistent (Times New Roman, 12pt) | Entire document uses Times New Roman, 12-point font | Review font settings |
| PDF version created | Save a copy as PDF for formatting preservation | Export or Save As PDF |
| Multiple backup copies saved | File is saved in several locations | Confirm storage locations |
| No unexpected formatting variations | No shifts in spacing, font, or alignment | Visual scan and proofing tools |
Formatting issues can quickly turn a strong paper into a source of stress and lost points. If you are worried about getting every element of your MLA running header right, from page numbers to consistent margins and spacing, you are not alone. Even with clear instructions, making sure your document meets every requirement can be tedious and overwhelming. Missing just a small detail like the correct placement of your last name or a consistent header format could impact your academic credibility.
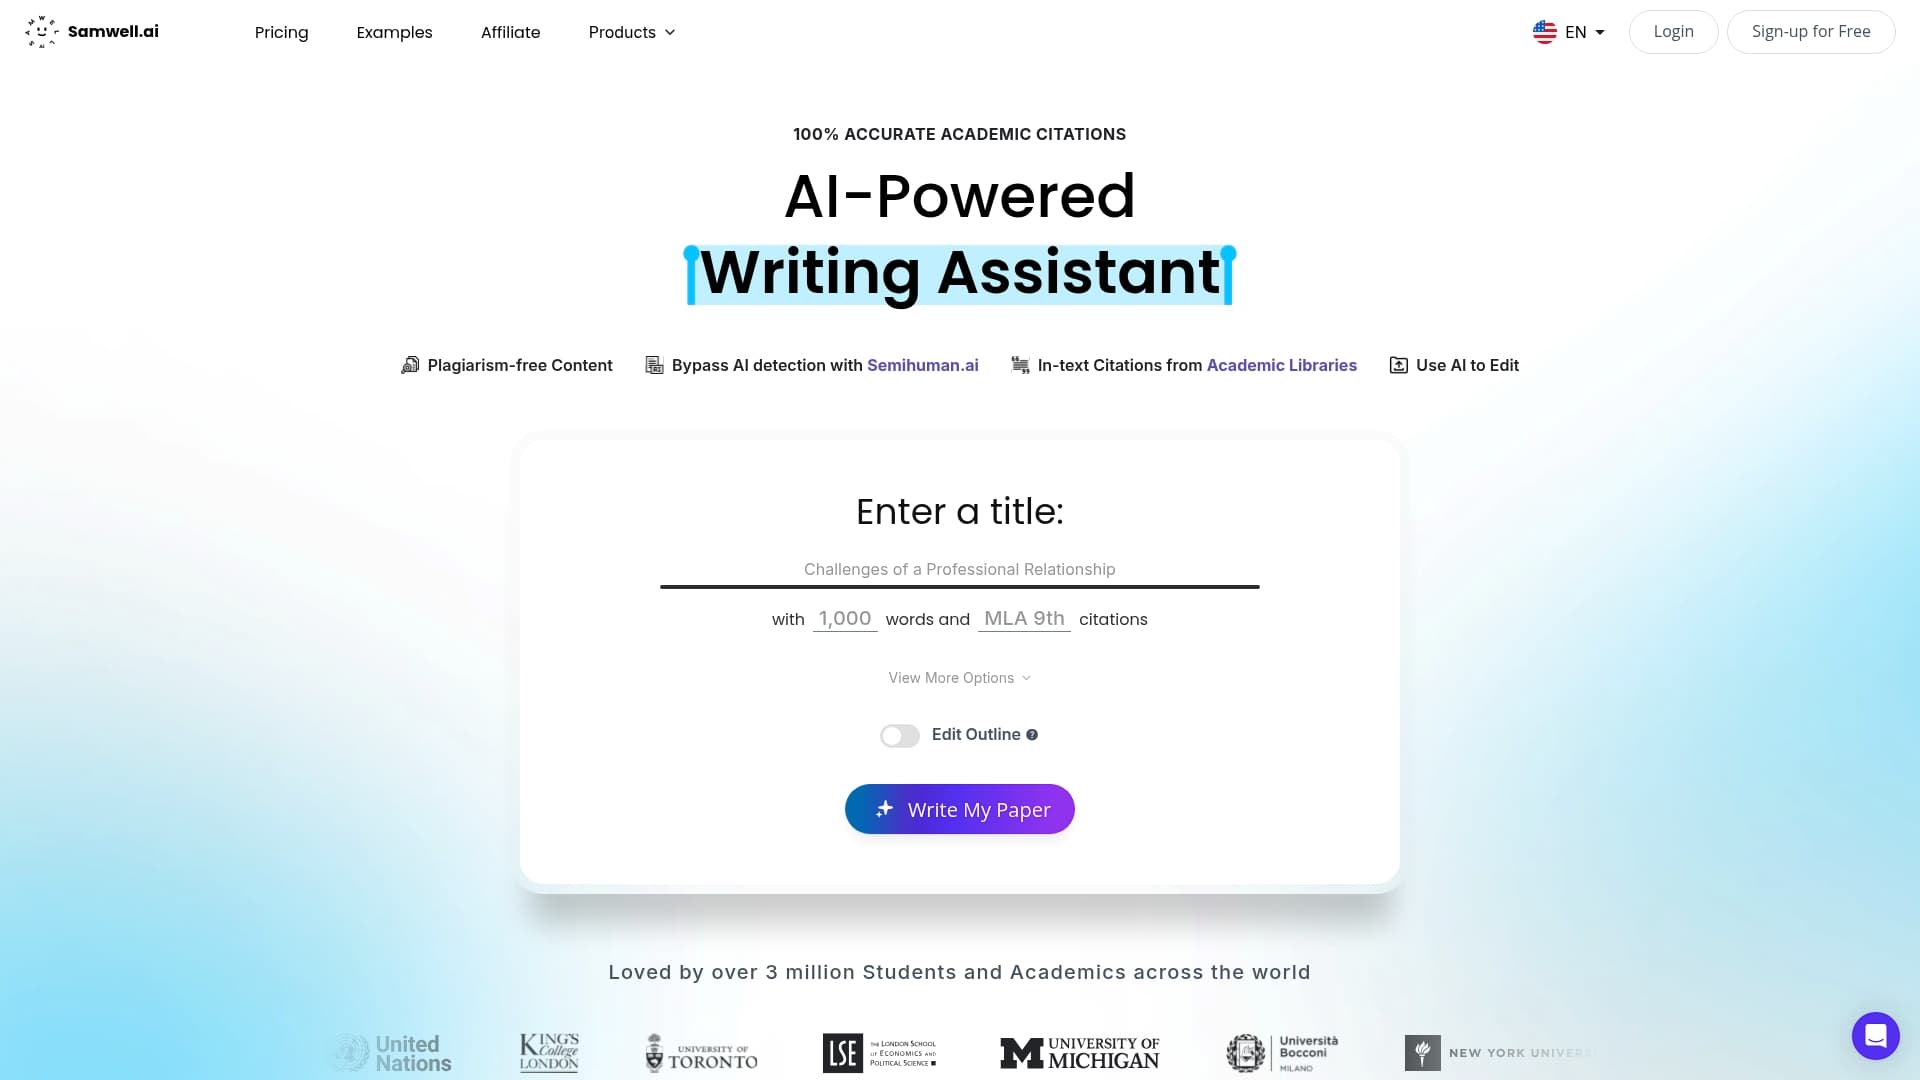
Samwell.ai is here to eliminate those worries. Our advanced tools automatically format essays according to MLA standards, so you never have to second-guess your headers, margins, or page numbers again. We use proprietary Semihuman.ai technology for academic integrity and real-time AI detection. With our user-friendly Power Editor, you can refine every part of your paper. Ready to impress your instructors and save valuable time? Visit Samwell.ai to generate, edit, and check your academic work with confidence right now. Master formatting the smart way—get started and submit your MLA papers with peace of mind.
The MLA running header is a formatting requirement in academic papers that includes the author's last name and the corresponding page number, positioned in the upper right corner of each page.
To format your MLA running header in Microsoft Word, go to the header section, insert page numbers in the upper right corner, and type your last name before the page number, ensuring they are flush right and half an inch from the top margin.
Double-spacing is required in MLA format to enhance readability and leave space for instructor annotations. It ensures that every line of the document has enough separation, making it easier for readers to follow the text.
You should use Times New Roman, 12-point font for your MLA document to comply with MLA guidelines. This font choice provides clarity and professionalism in academic writing.